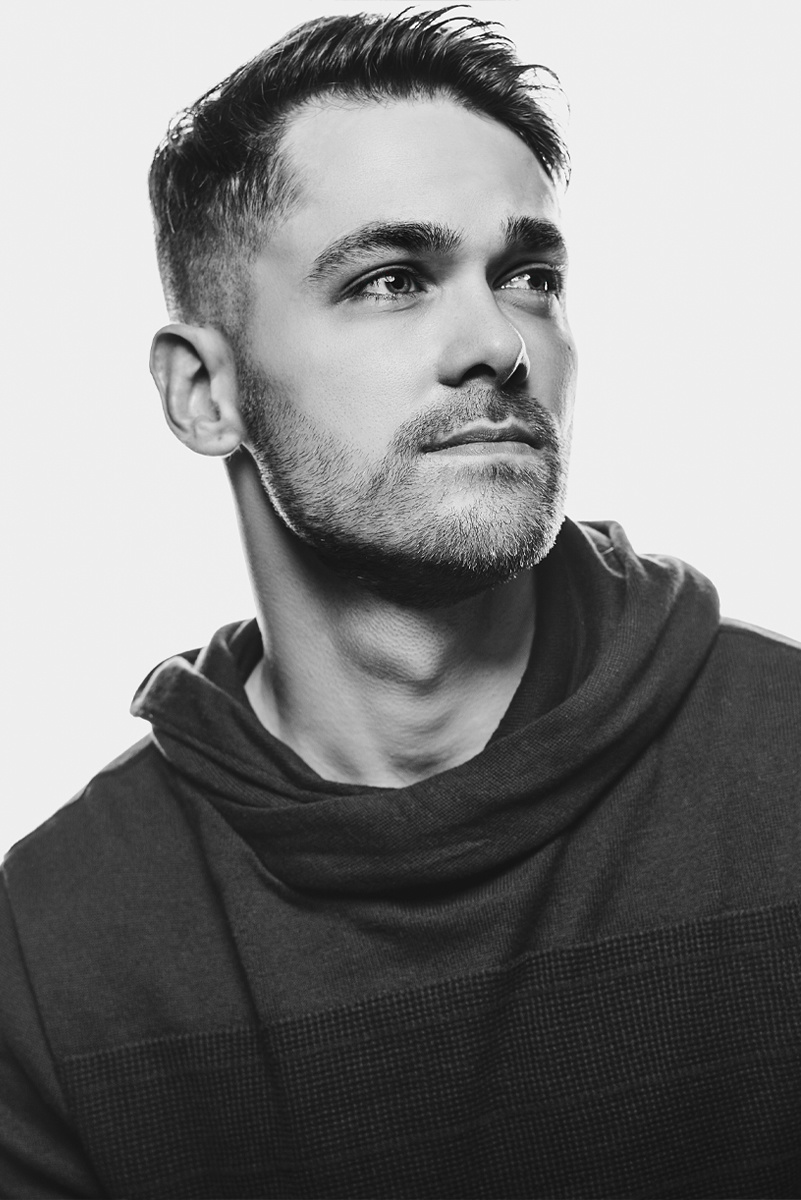
I posted some high-key portraits a little while back, and this time I wanted to show you how I create 'em! High-key portraits can be done quite a few ways, but for me and my style, I like to use two lights. Watch the video below for a detailed breakdown of my setup and check out some of the final images. Special thanks to my friend and model, Jacob Agy. Be sure to give him a follow!
For this shoot, we used two flash units
- I place one flash with an 86" PLM Umbrella and Front Diffusion directly behind the model. If you do not have an Umbrella, you can also try it with a large Octa Softbox or translucent background.
- The other flash with a Silver Beauty Dish and place it slightly above the model and make an angle of about 45 degrees. Silver gives a bit more contrast to the photos.
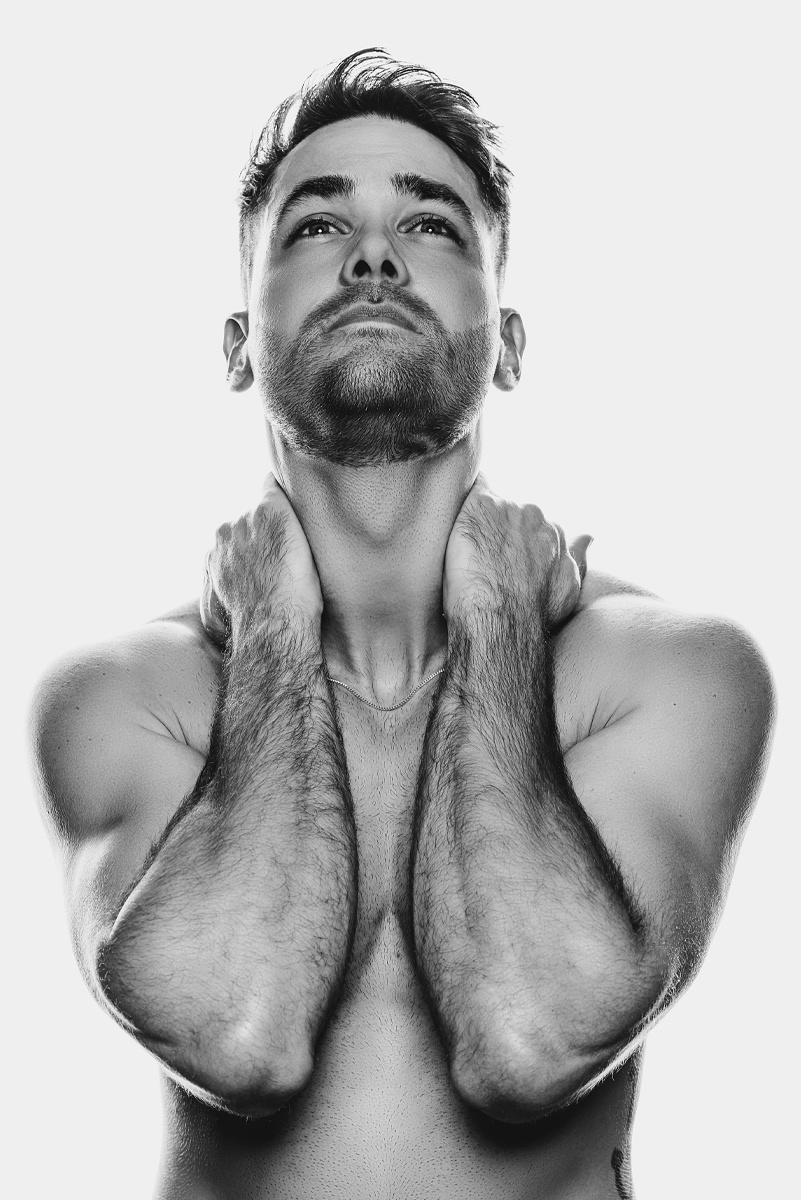
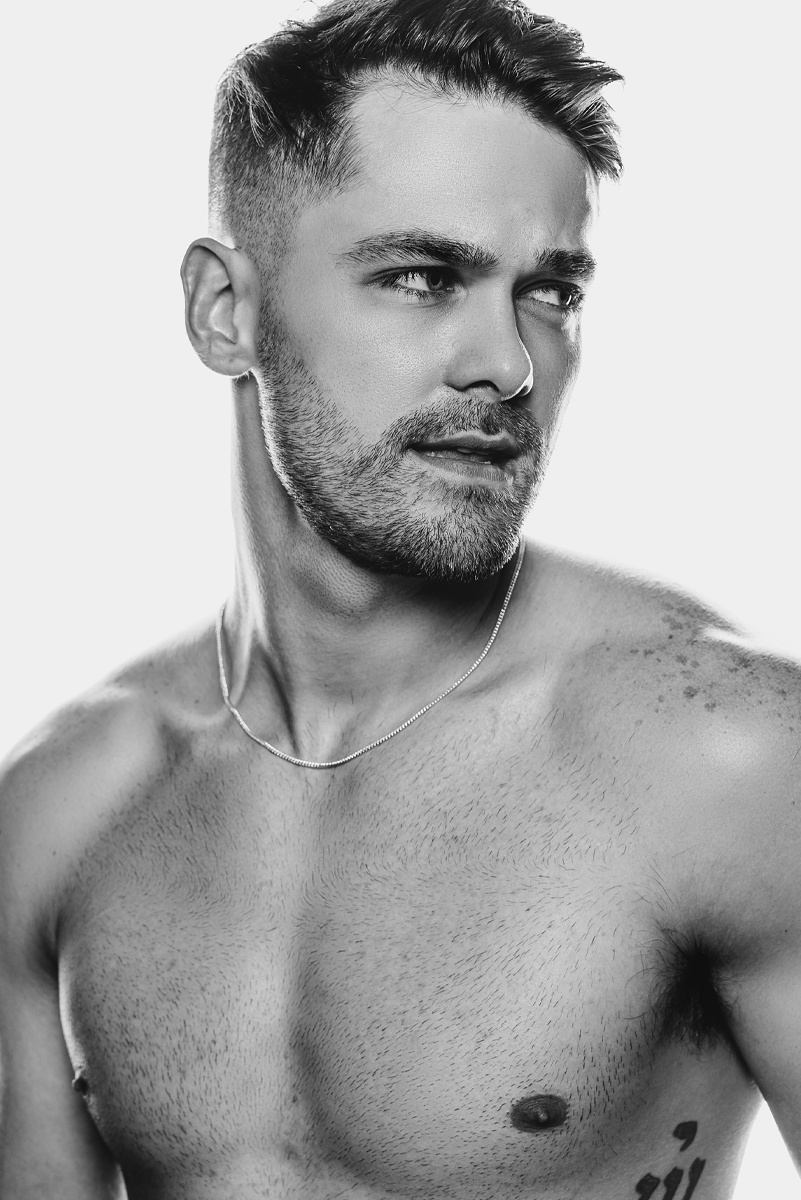
Behind the scenes shoot
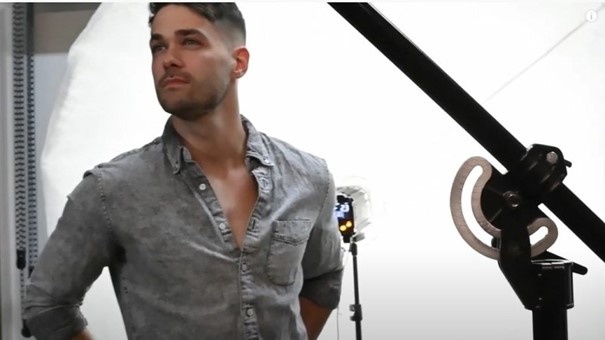
Anthony takes you to step by step through this process and shows you various setups, he plays with backlight and foreground light and shows you the effect of increasing or decreasing the number of Stops of the flash.
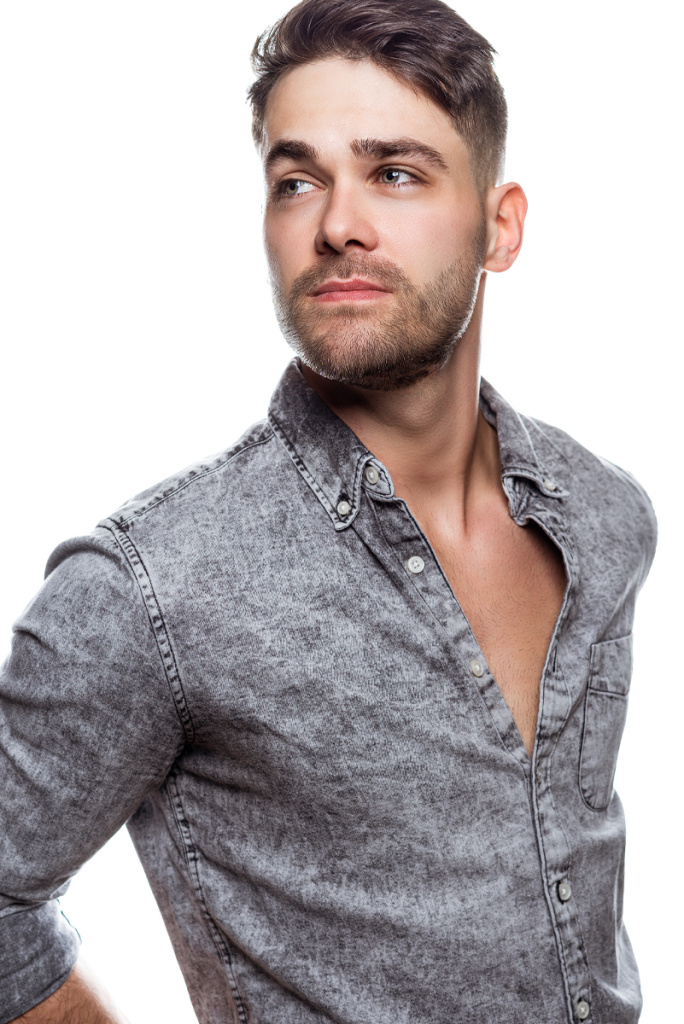
Behind the scenes movie
Get inspiration from other top photographers and learn about their setups and process. Take a look behind the scenes.
Meta Data for all images | ISO: 100 | Aperture f/4,5 | Shutter Speed 1/125
Anthony thanks you so much for watching "Flash Lighting to create the shot."
Now, we want to see what you can create; follow us on Instagram at @flitsenflash, and if there's a particular lighting technique that you're interested in learning more about, go ahead and leave us a suggestion in the comments below.
What we would like to see from you
- (1) Behind-the-scenes image showing your setup
- (1) Final image
Tag us on Instagram @flitsenflash or Facebook @Paul C. Buff Europe
Items were used
- 86″ White Front Diffusion Fabric
- 7″ Standard Reflector
- 7” Standard Reflector Grids (set of 4)
- 13′ Combination Boom Stand
Special thanks to
MODEL – Jacob Matthew Agy
FOLLOW ANTHONY ROMANO
WEBSITE: https://www.412ink.com


0 Reacties
Er zijn nog geen reacties, wees de eerste....